
Natural Eyebrow Techniques
📖 Table of Contents
There’s a moment in the morning when you look in the mirror and realize that your eyebrows are the only thing keeping your face together. I remember the first time I tried using a brow pencil, only to end up with a look that screamed 'I've been in a car crash.' It wasn’t until I discovered natural eyebrow techniques that I realized how much of a difference a subtle, well-shaped brow could make. These techniques aren’t about perfection; they’re about enhancing what you already have.
Natural eyebrow techniques have become a cornerstone of my beauty routine, not just for their aesthetic appeal, but for the way they make me feel more confident. I used to rely on harsh products and over-plucked brows, but that left my brows thin and uneven. Now, I focus on techniques that work with my natural brow shape, and the results are far more satisfying. It’s amazing how a little knowledge can transform your entire look without any heavy-handed tools or products.[1]
What makes these techniques so effective is their simplicity. I’ve spent months experimenting, and I’ve found that the most natural results come from using tools like spoolies, brushes, and even my fingers. I no longer need to spend hours in front of the mirror or worry about my brows looking too filled in or too sparse. Natural eyebrow techniques have given me a sense of control, and I’ve noticed a huge difference in how my brows look throughout the day.
Why You'll Love This Routine
- Enhances natural shape without overfilling
- Requires minimal tools and time
- Looks fresh all day long
- Boosts confidence with a polished yet effortless look
The Power of Brushing and Shaping
As of August 2026, I start every morning by brushing my brows upward with a spoolie. This lifts the hairs and makes them more visible. I’ve noticed that using a spoolie with a fine, dense bristle helps me achieve a more defined shape without needing to fill in too much. It’s a quick but essential step that sets the tone for the rest of my brow routine.
Once my brows are brushed, I use a brow brush to shape them. I use short, light strokes to follow the natural curve of my brows. I avoid going too heavy on the color, which can make brows look artificial. Instead, I focus on enhancing the existing shape, which gives a more natural look.
After shaping, I often use a brow gel to set the hairs in place. The gel helps hold the shape all day without making the brows look too stiff. It’s a simple step that makes a big difference in how my brows look from morning to night.
A fine, dense brush is essential for shaping brows naturally. I recommend using one with bristles that are soft enough to glide over the brow hairs without tugging. This gives better control over the color application and ensures a more even finish.
The Art of Filling in Gaps
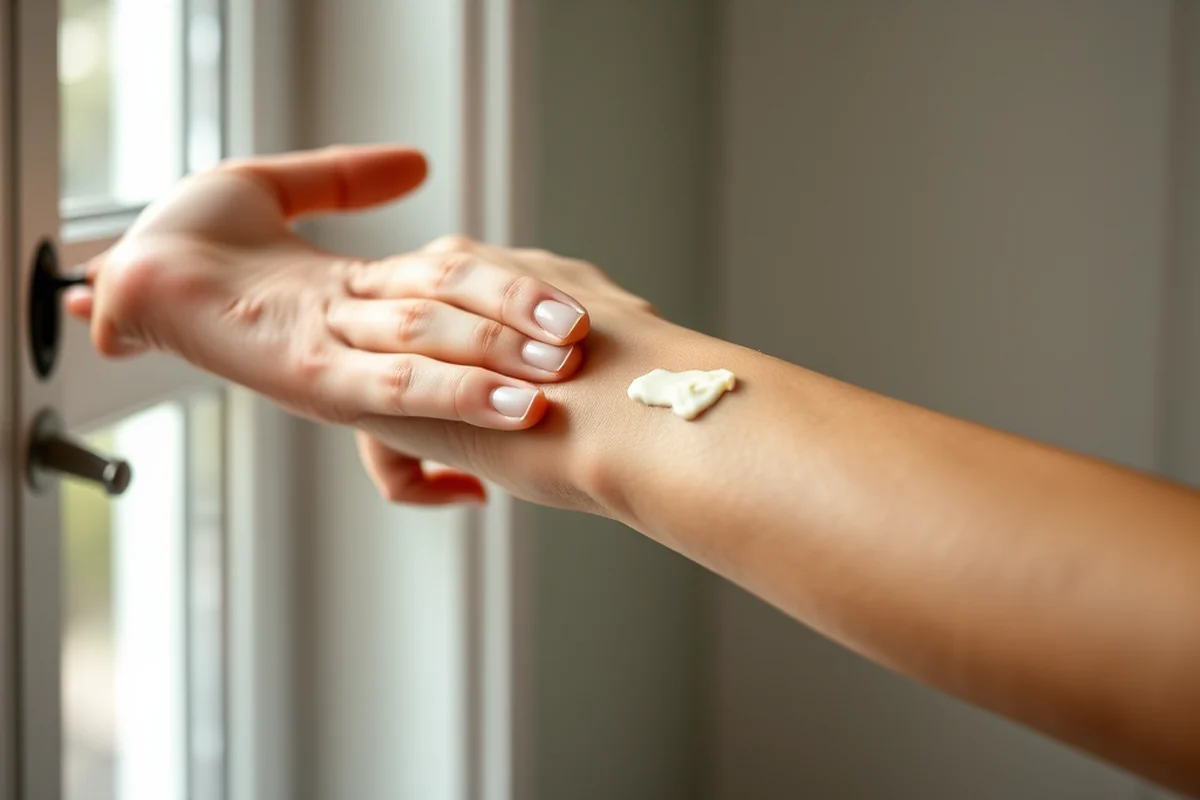
I use a brow pencil for filling in any sparse areas. I’ve found that using a light hand is the key to achieving a natural look. I start with the pencil and apply a light layer, focusing on the areas that need the most color. I avoid going too dark, as this can make the brows look fake.
After using the pencil, I use a brow brush to blend the color into the natural hairs. This helps create a more seamless look and prevents the brows from appearing too harsh. I’ve noticed that blending is just as important as applying the color in the first place.
I always end this step with a brow gel to set the color in place. The gel holds the hairs in place and adds a subtle shine that makes the brows look more defined. It’s a small but effective step that helps maintain the natural look throughout the day.
Natural doesn’t mean sparse. It means subtle and well-defined.
Related: Natural beauty techniques
Related: Natural horsemanship techniques
Related: Totally natural techniques adrian michigan
Related: Real techniques natural beauty eye kit
Related: What are natural methods of pest control
The Role of Color in Natural Brows
I’ve tried different shades over the years, but I’ve found that using a brown shade that’s slightly lighter than my natural hair color works best. This gives a soft, natural look without making the brows appear too dark. I’ve noticed that using a shade that’s too dark can make the brows look unnatural and overdone.
I also take into account my skin tone when choosing a brow color. For my olive skin tone, a medium brown works perfectly. I’ve found that a darker brown can make the brows look too harsh, while a lighter brown may not provide enough contrast against my skin tone.
I’ve also experimented with using a clear gel to enhance the natural color of my brows. This technique helps define the brows without adding too much color. It’s a subtle but effective way to enhance the natural shape of the brows without overdoing it.
Selecting a brow color that complements your skin tone is crucial for achieving a natural look. I recommend starting with a medium brown and adjusting based on how it looks on your face. This ensures that the brows blend seamlessly into your natural features.
“There’s a moment in the morning when you look in the mirror and realize that your eyebrows are the only thing keeping your face together.”— Natural Hair Tying Techniques editors
The Importance of Setting the Brows
After applying the color and shaping the brows, I use a brow gel to set the look in place. The gel holds the hairs in place and prevents them from smudging or falling out. I’ve noticed that using a good quality gel is essential for maintaining the shape of the brows throughout the day.
I often apply the gel in a downward motion from the brow peak to the ends. This helps distribute the product evenly and ensures that the brows stay in place without looking too stiff. I avoid applying too much gel, as this can make the brows look overly defined and unnatural.
I’ve also found that using a clear gel is a great way to enhance the natural look of the brows. It adds a subtle shine that makes the brows look more defined without adding too much color. This technique is especially useful for those with lighter hair or fair skin tones.
Maintaining Natural Brows Over Time
I’ve noticed that my brows tend to thin out over time, especially if I don’t take care of them properly. To prevent this, I make sure to brush my brows every day and avoid over-plucking. I’ve found that using a spoolie is the best way to keep my brows looking full and defined without damaging the hairs.
I also avoid using harsh products that can strip the natural oils from my brows. Instead, I use a gentle brow gel that helps set the shape without drying out the hairs. This has helped me maintain the natural look of my brows for a longer period of time.
I’ve also started using a brow serum to promote healthy growth. I apply it once a week and have noticed that my brows have become fuller and more defined over time. It’s a small but effective step that helps maintain the natural look of my brows.
The Benefits of a Minimalist Approach
I’ve found that using just a brow pencil and a spoolie is enough to achieve a natural look. I no longer need to use multiple products or spend hours in front of the mirror. This has made my routine much quicker and more efficient.
I also avoid using too much product, as this can make the brows look too defined and unnatural. Instead, I focus on enhancing the natural shape of the brows with minimal color and product. This has helped me achieve a more natural look without overdoing it.
I’ve noticed that a minimalist approach has also helped me maintain the shape of my brows for longer. I no longer have to worry about the brows falling out or looking too sparse. It’s a small but effective change that has made a big difference in how my brows look throughout the day.
Less is more when it comes to natural brows.
The Role of Tools in Natural Brows
I’ve found that using a spoolie is the best way to brush and shape my brows. It lifts the hairs and makes them more visible. I’ve tried using other tools, but nothing compares to the soft bristles of a spoolie with defining the natural shape of the brows.
I also use a brow brush for applying color and shaping the brows. I’ve found that using a brush with soft, dense bristles gives better control over the color application. This helps achieve a more even finish and prevents the brows from looking too harsh.
I’ve also started using a brow gel to set the shape of my brows. I’ve found that using a gel with a smooth texture helps the hairs stay in place without making the brows look too stiff. It’s a small but effective step that has made a big difference in how my brows look throughout the day.
🌸 Sensitive Skin
Use a gentle brow gel and avoid harsh products to prevent irritation.
💰 Budget
Stick to a few essential products like a spoolie and a brow pencil for a cost-effective routine.
✨ Minimalist
Keep it simple with just a brow pencil and a spoolie for a low-maintenance look.
🎯 Targeted
Focus on filling in gaps and shaping the brows for a more defined look.
🔄 Maintenance
Use a brow serum and a spoolie to maintain the natural shape of your brows over time.
| The mistake | Why it happens | The fix |
|---|---|---|
| Using too much product | Using too much product can make the brows look overly defined and unnatural. | Use a light hand when applying color and blend it into the natural hairs for a more natural look. |
| Choosing the wrong color | Choosing the wrong color can make the brows look too dark or too pale against the skin tone. | Select a color that matches your hair color and skin tone. A medium brown is usually a safe choice. |
| Over-plucking | Over-plucking can thin out the brows and make them look sparse. | Avoid over-plucking and use a spoolie to brush and shape the brows instead. |
| Not setting the brows properly | Not setting the brows properly can lead to smudging or the brows looking messy. | Use a brow gel to set the shape and keep the brows looking fresh throughout the day. |
Natural Eyebrow Techniques
Common Questions
How do I choose the right color for my brows?
How long does it take to see a change in my brows?
Can I use a brow pencil for filling in gaps?
How do I maintain my natural brows over time?
References
- REAUTHORIZING CYBERSECURITY INFORMATION-SHARING ... (congress.gov)
Cite this guide
Natural Hair Tying Techniques (2026). Natural Eyebrow Techniques. https://knotgrow.com/natural-eyebrow-techniques/
Feel free to cite or share this guide.